Fire Starting in Wet Weather: Ferro Rods, Arc Lighters and Windproof Torches
By Melt Party Gear Team · July 14, 2026 · 4 min read
Damp wood and wind make fire starting hard. Learn how the fire triangle works, how three ignition tools compare, and how to put a fire out completely.
Starting a fire on a dry summer evening is easy. Starting one after a day of rain, with damp wood and gusting wind, is a different skill. The difference usually comes down to preparation: the right ignition tool, dry tinder you packed yourself, and a method that does not depend on luck. This guide covers how fire works, how three common ignition tools compare, and how to stay safe and responsible when you build one.
Start with the fire triangle
Every fire needs three things: heat, fuel and oxygen. Remove any one and the fire goes out. Wet weather attacks all three at once:
- Heat. Water absorbs heat. Before damp tinder can catch, your spark or flame has to drive off the moisture, which takes far more energy than lighting dry material.
- Fuel. Wet wood smolders and smokes instead of burning. You need small, dry material to start, then larger pieces that can dry out as the fire grows.
- Oxygen. Wind can blow out a small flame, but a fire packed too tightly suffocates. Shelter the flame without smothering it.
Keeping the triangle in mind helps you work out what is going wrong when a fire will not catch.
Three ways to make the first flame
There is no single best ignition tool. Each type has strengths, and many people carry two so that one can back up the other.
Ferrocerium rod
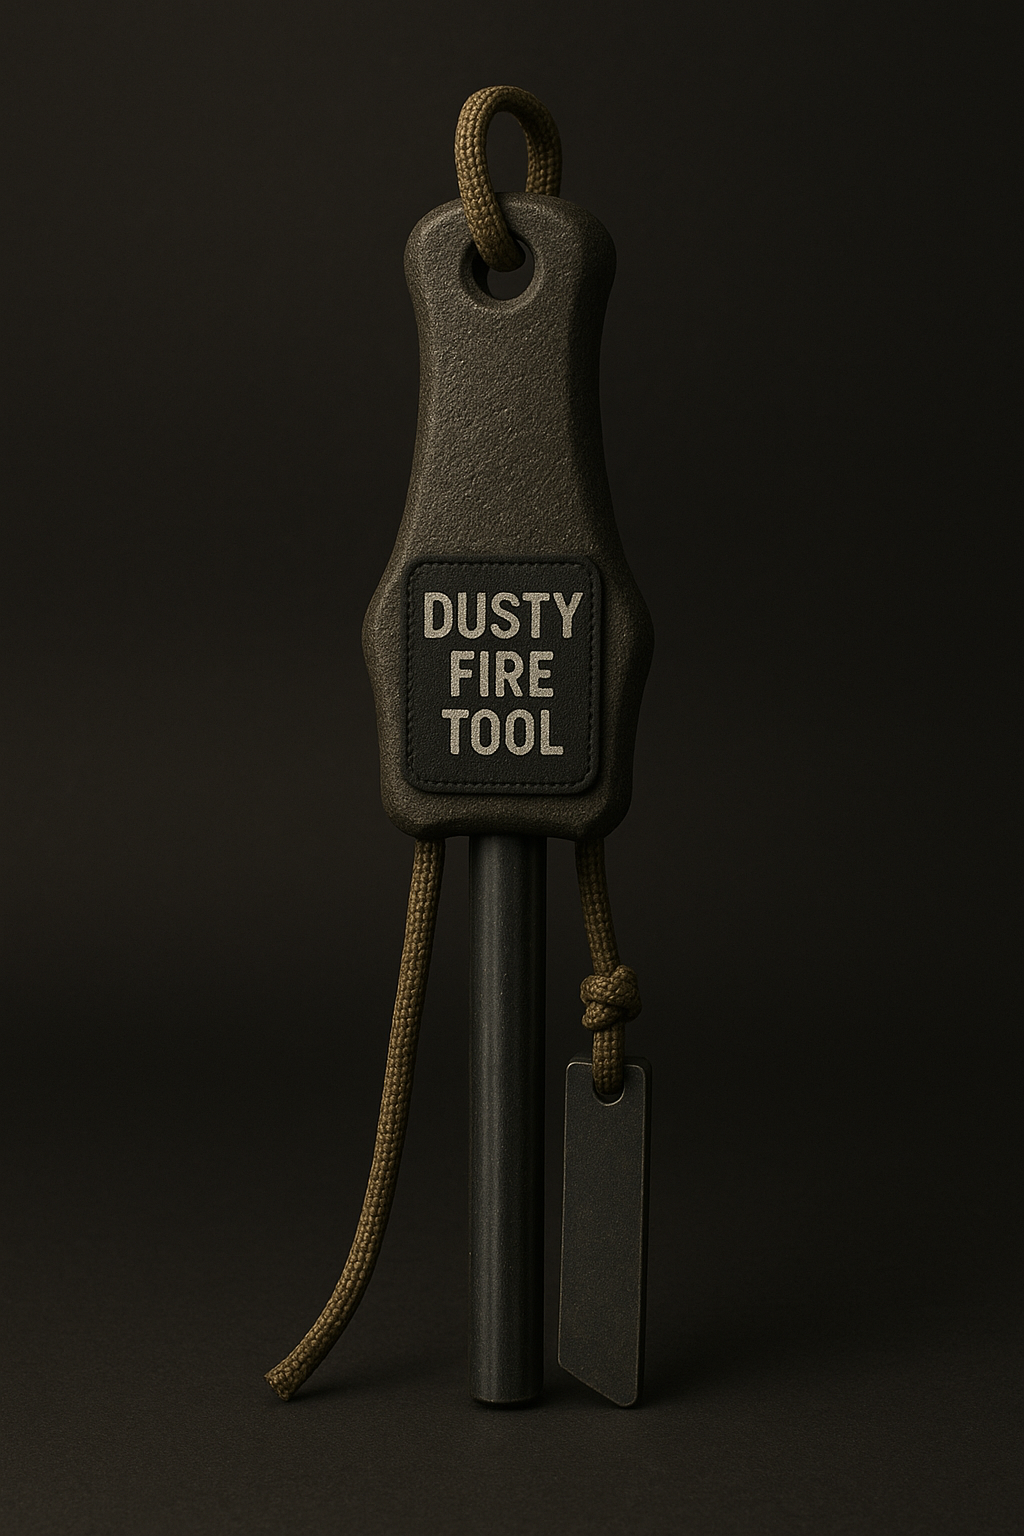
A ferrocerium rod, or ferro rod, throws hot sparks when you scrape it with a striker. It has no fuel to run out and no battery to drain, and it still sparks after it gets wet; just dry it on your clothing first. The Dusty Fire Tool pairs a long-lasting ferrocerium rod with an ergonomic grip and an integrated striker, and it is designed for reliable ignition in wet and windy conditions.
The trade-off is technique. Sparks need fine, dry tinder to catch, and you need practice to land them where you want. Instead of moving the striker toward your tinder, try holding the striker still and pulling the rod back. That keeps the tip close to the tinder and avoids scattering your tinder bundle.
Solar-charged arc lighter
An arc lighter makes a small electrical arc instead of a flame, so there is nothing for the wind to blow out. The Solar Arc Tool uses an internal rechargeable arc system that can be topped up with its built-in solar panel, and it has a weather-resistant body and a single arc ignition button.
The arc needs to touch your tinder directly, so it works best with material that catches easily, such as dry paper, cotton or fine wood shavings. Because it runs on a rechargeable battery, charge it fully before a trip and give the solar panel time in the sun whenever you can.
Windproof torch
A jet-flame torch produces a strong, focused flame that holds up in wind and can dry and light damp material more easily than a spark can. The Nova Flame Device is a windproof torch with a safety lock, an angled burner and an impact-resistant housing, plus a carabiner clip for secure carry.
A torch is the most forgiving option when conditions are bad, but it depends on fuel. Check that it lights before you leave, and keep a non-fuel backup such as a ferro rod in your kit.
Tinder is the real secret
In wet weather, the tinder you bring matters more than the tool you use. Natural tinder may be soaked after rain, so carry your own in a waterproof bag or container. Good options include cotton balls, dryer lint, strips of paper and fine wood shavings.
Once you are in camp, look for dry fuel in sheltered places: dead twigs still attached to the lower branches of trees, and the dry inner wood of fallen branches that you split open. Collect more small material than you think you need. Most failed fires run out of kindling just as the flame is catching.
A step-by-step method
- Check the rules. Confirm that fires are allowed where and when you are camping. Fire restrictions and burn bans change with conditions.
- Pick your spot. Use an existing fire ring if there is one. Choose a place sheltered from the wind and away from overhanging branches, tents and gear.
- Build a dry base. On wet ground, lay a platform of sticks so your tinder is not sitting in water.
- Prepare everything first. Sort tinder, kindling and larger fuel into piles within reach before you make a single spark.
- Light the tinder. Shield it with your body or pack, ignite it, and blow gently at the base if it needs air.
- Feed it slowly. Add the smallest kindling first and work up in size. Leave gaps so air can move through.
Leave no trace, and put it out completely
Keep fires small and use only dead wood found on the ground. Do not cut live trees or branches. Never leave a fire unattended, and keep water nearby while it burns.
When you are done, drown the fire with water, stir the ashes and drown it again. Hold the back of your hand close to the ashes: if you feel any heat, it is not out. Repeat until everything is cool to the touch. Where fires are not allowed, cook on a stove and save the campfire for another trip.
Building your fire kit
A dependable wet-weather kit pairs two different ignition methods with dry tinder you packed yourself. A ferro rod like the Dusty Fire Tool makes a reliable base that never runs out of fuel. Add the Solar Arc Tool for flameless ignition or the Nova Flame Device for a strong flame in wind. You will find more options in our Tools collection. Practice at home first, so the first time you use your kit is not the night you really need it.