Build a Navigation Kit That Still Works When Your Phone Doesn't
By Melt Party Gear Team · June 16, 2026 · 5 min read
Phones fail outdoors in ordinary ways: dead batteries, no signal, cold fingers. Here is how to layer a GPS, a compass and a paper map so you always know where you are.
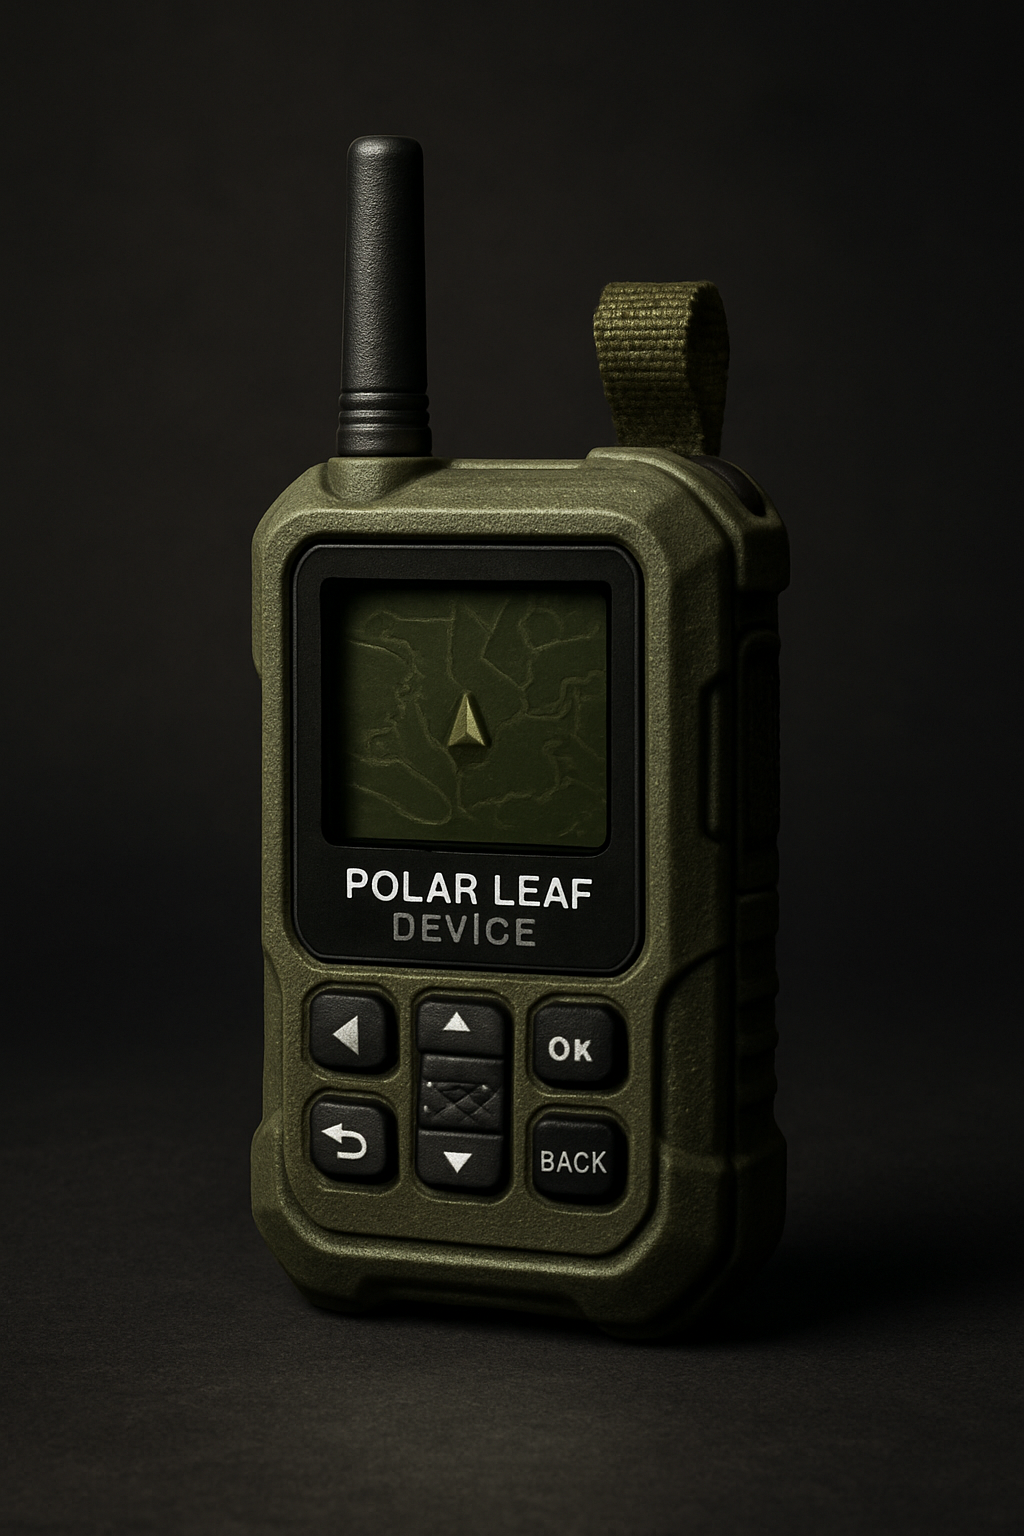
Most of us navigate with a phone now, and on a well-marked trail with full bars that works fine. The trouble starts when conditions change. A phone is a single device doing many jobs, and in the backcountry it can let you down in several ordinary ways at once. This guide walks through a layered navigation kit that keeps you oriented when the screen in your pocket cannot.
Why phones fail outdoors
A phone rarely fails because of one dramatic event. It is usually a slow pile-up of small problems:
- Battery. Navigation apps keep the screen, the location chip and often the data connection busy. Photos, messages and a cold pocket drain the battery further. By mid-afternoon on a long day, many hikers are rationing the last few percent.
- Signal. Map apps that stream tiles stop showing detail as soon as you leave coverage. If you did not download the area in advance, you may be left with a blue dot on a blank screen.
- Cold and wet. Batteries lose capacity in the cold, touchscreens are hard to use with gloves or wet fingers, and rain on the glass can make the screen respond unpredictably.
- Damage. One slip on a rock can crack the screen of the device that also holds your map, your light and your way to call for help.
None of this means leaving the phone at home. It means not relying on it alone.
Build your kit in layers
A reliable navigation setup has independent layers, so that the failure of one does not take the others with it. Think of three: a dedicated GPS device, a digital compass, and a paper map with a baseplate compass.
Layer one: a dedicated GPS device
A standalone GPS unit does one job, and that is its strength. It is not competing with your messages or camera for battery, and it is built to be used outdoors. The Polar Leaf Device is a rugged GPS navigation unit designed for low-visibility terrain and remote use. It has tactile buttons you can press by feel, a high-contrast display that is easier to read in difficult light, and a reinforced housing.
Physical buttons matter more than they sound. With gloves on, in rain, or when your hands are cold, pressing a real button is far more dependable than tapping glass. Before your trip, load your route and the waypoints that matter most: trailheads, junctions, water sources, campsites and bail-out points.
Layer two: a digital compass
A GPS tells you where you are. A compass tells you which way you are facing, and that is often the more urgent question at a trail junction or in fog. The Quantum Ash Device is a tactical digital compass in a rugged, charcoal-toned case, with tactile arrow keys and an OK button for making selections.
Carrying a separate compass gives you a second, independent source of direction. If the GPS screen and the compass agree, you can move on with confidence. If they disagree, stop and work out why before you take another step.
Layer three: paper map and baseplate compass
The final layer has no battery at all. A paper map of your area, kept in a waterproof bag, together with a simple baseplate compass, will keep working when everything electronic has given up. It also shows you the bigger picture in a way a small screen cannot: ridgelines, drainages, and the roads and trails that could get you out.
A map only helps if you can read it. Practice the basics close to home before you need them: orienting the map to north, identifying features around you, and taking a bearing to follow.
Plan before you go
Good navigation starts at the kitchen table, not at the trailhead.
- Study the route. Look at the whole trip on a map. Note where the trail is easy to lose, where it crosses water, and where you could turn back or exit early.
- Set waypoints. Enter key points into your GPS and mark the same points on your paper map, so the two layers tell the same story.
- Download offline maps. If you will use your phone as a backup, download the area so the map works without signal.
- Charge and test everything. Start with full batteries and switch on each device at home to confirm it works. Carry spare power for the devices that need it.
- Set a turnaround time. Decide in advance when you will turn back, whether or not you have reached your goal, so daylight does not make the decision for you.
Tell someone your plan
Navigation gear helps you find your own way. A trip plan helps other people find you if something goes wrong. Before you leave, give a trusted person your route, where you will park, who is with you, and the time you expect to be back. Agree on a check-in time, and on what they should do and whom they should call if they have not heard from you by then.
When you get back, check in as promised, even if you are tired. A trip plan only works if the person holding it knows when to act.
Practice on easy ground
The time to learn your GPS menus and practice with your compass is on a familiar trail on a clear day, not in fog at an unmarked junction. Use your full kit on a few short outings. Follow a bearing to a landmark, mark a waypoint and navigate back to it, and compare what each layer tells you. Those repetitions turn the kit into a habit, and habits hold up when conditions get difficult.
Putting your kit together
You do not need a lot of gear to navigate well, but you do need more than one way to do it. Start with a dedicated GPS like the Polar Leaf Device, add a second source of direction such as the Quantum Ash Device, and keep a paper map in your pack. You can browse more options in our Navigation collection, and if you have questions about which device fits your trips, ask Floe, our shopping assistant, or email our team.